Installing Omeka
Omeka is an open-source web application that can be used to create and display online digital collections. Developed by programmers at George Mason University, Omeka was designed to be user-friendly, both during installation and setup and during daily usage. To install Omeka, use these simple steps:
To get started you’ll need to login to your control panel (https://digital.brynmawr.edu/dashboard/) using your Bryn Mawr username and password. 
Once logged in you’ll be at the homepage of your control panel. Navigate to the Web Applications section of the cPanel and find Featured Applications. Then select Omeka.
![]()
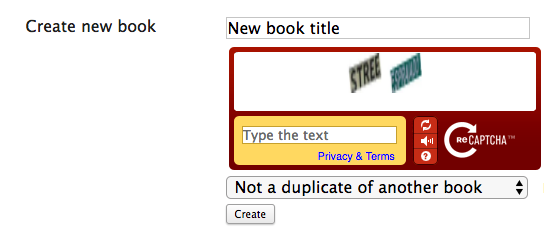
This page gives you more information about the Omeka software. To begin the install click install this application in the upper-righthand corner. 
On the next page the installer will ask for some information about this install. The first thing you’ll want to do is decide where to install it. If you’d like to install Omeka on your main domain, you can leave the directory area empty. If you created a subdomain, you can select it from the dropdown menu. You also have the option of installing Omeka in a subfolder by typing in the folder name in the Directory field. Click here for more information about subdomains and subfolders.
By default the installer will automatically backup your website and update it anytime a new version comes out. While we recommend you keep these options, it is possible to only do minor updates, or turn them off completely.
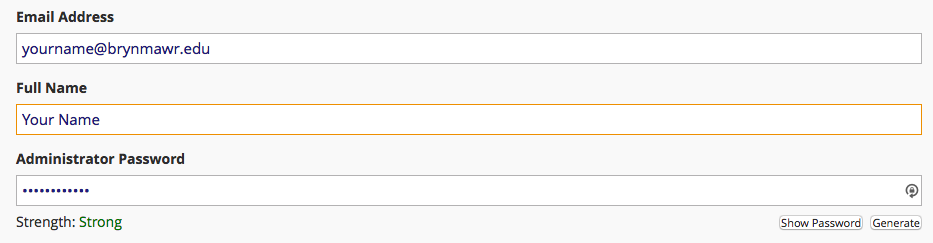
In Settings, you’ll need to enter your name, email, and password. This is the username and password you’ll use to login to Omeka.
The installer will create a database for you automatically, but if you’ve already created one for this website you can choose “Let me manage the database settings” and enter the details.

Finally, click Install.

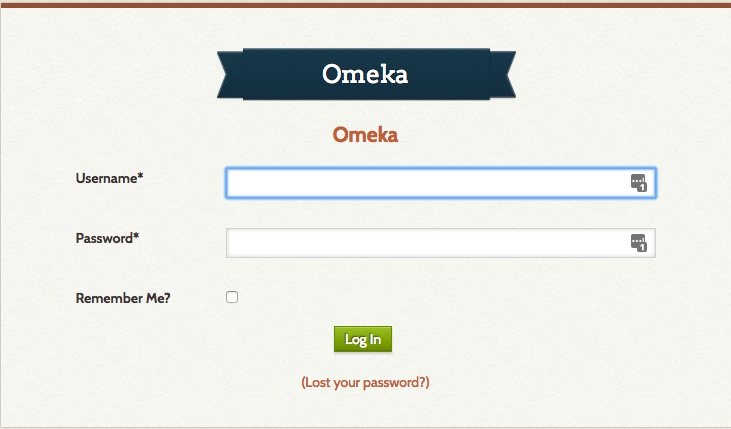
The installer will take just a few moments to install Omeka and a progress bar will keep you updated. When it is complete you will see a link to your new Omeka site as well as a link to the backend administrative section for your Omeka site. Click the link that ends in “/admin” to log in to your Omeka site.
Enter your username and password to login to the site.
Installing Omeka Plugins
There are a variety of plugins that enable additional functionality in Omeka. All the plugins available for Omeka and their descriptions can be found on this page.
To install an Omeka plugin you have downloaded as a zip file, open up your cPanel Dashboard and click on the File Manager. You can find the File Manager under ‘Files’ or by typing “File Manager” in the upper right search bar.
![]()
Go to the public_html > omeka > plugins folder by clicking on the folder icons in the file menu, or by typing “public_html/omeka/plugins” into the navigation bar at the top and clicking ‘Go’.
Next you will need to upload the the plugin zip file into the plugins folder. Select the Upload option in the top menu to open up a new tab where you can upload the file. When the upload is complete, click the ‘Go back to home/yourdomain/public_html/omeka/plugins’ link at the bottom of the page to return to the File Manager. You will see that the zip file has appeared in the plugins folder.
Make sure the zip file is selected (it should be highlighted in blue), then click Extract from the menu at the top of the page. A small window will open up to confirm where the file will be extracted to. If you were in the plugins folder, it should say public_html/omeka/plugins, if not, type that into the box before you hit Extract File(s).
![]()
Another window will open that outlines the contents of the file. Just hit the Close button and the installation will be complete.
The plugin should now be available in the plugins tab in your Omeka.

To install the plugin on your Omeka site, select “Plugins” then the green “Install” button. You may be asked to configure additional settings for the plugin.

Using Omeka
You can learn how to use this application in the official Omeka Support Documentation. This support guide will help you get started and begin creating your Omeka site.